This is part of series: DD-WRT Repeater Bridge
The first thing to do is upgrade the firmware on the second router to something more capable. DD-WRT is the most popular open-source router firmware, and it’s the one that I used for this project. To upgrade the software on your router, you will need:
- Your router’s model number, including the exact revision
- A web browser, such as Internet Explorer, Firefox, Chrome, or Opera
- A wired connection to your router (wireless won’t do)
- For some routers, a TFTP client
Windows has one built-in, but it’s disabled by default. How to enable Windows TFTP client - Your computer’s IP address set to static
Steps: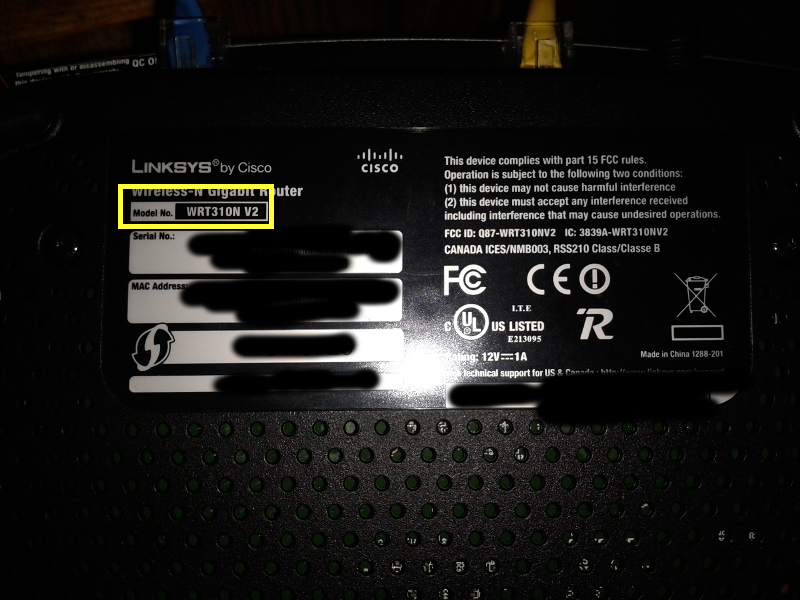
1. Get the model number of the router. Mine’s a WRT310n v2
The router’s model number is usually on a sticker on its underside.

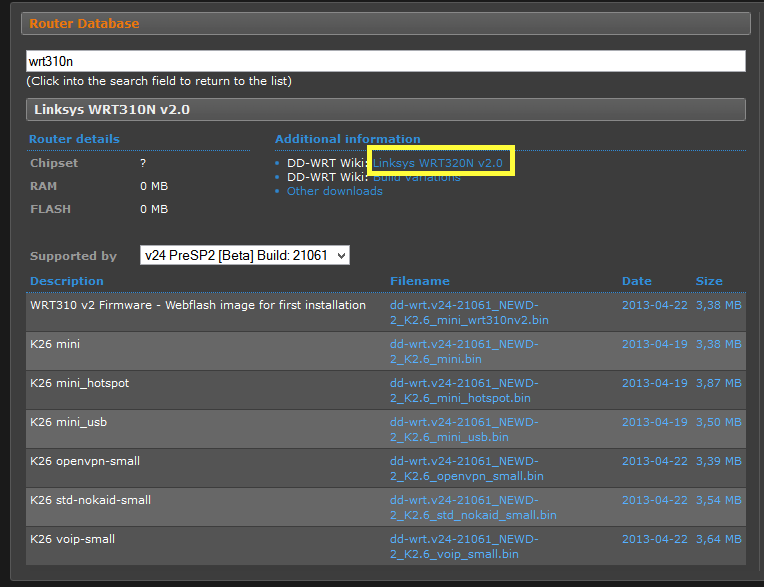
2. Go to DD-WRT‘s router database and look up your router.
Click on your router’s entry for more details.
If you can’t find it there, check the DD-WRT wiki’s “Hardware-Specific” page.
3. If the database or the wiki says that it’s supported, follow the link to the DD-WRT wiki page on that particular router, to find out the exact steps for flashing your particular router. Most of the time, the steps are pretty much the same. But read the directions carefully, just to make sure. Don’t try to flash your router until you understand what you’re doing and why.
 In addition, I highly recommend reading through the Peacock Thread, a compendium of router flashing knowledge. It takes awhile to to read and understand, but it’s worth it.
4. Decide which features you want your router to have. Due to router space restrictions, you’ll generally have to make trade-offs. Here’s a list of the different features of DD-WRT that are available.
Next: First Flash

3 thoughts on “DD-WRT Repeater Bridge – Prepare to Flash”