 This post is part of a series: DD-WRT Repeater Bridge
By this time, you have:
- Downloaded the appropriate firmware for your router, and you’re ready to start flashing.
Afterward, you’ll:
Some routers need special treatment, but here is the normal procedure:
- Download the “trailed” (“killer”) version for your particular router, and also the final version that you want. Make sure that neither firmware is bigger than your router can support. In my case, the WRT310n has 4MB of flash memory (not the same as RAM). So I can flash it with any build that supports my router AND is smaller than 4MB. The “trailed” firmware pretends to be a “real” firmware upgrade from the router’s manufacturer, so that its existing firmware will accept it. Once you’ve replaced the stock firmware, you can then upgrade a second time to the version of dd-wrt that you really want. In addition, download the original firmware from the manufacturer’s website. This isn’t always possible, but do it if you can. This way, if you mess something up, you’ll have the original firmware to put back on the machine.

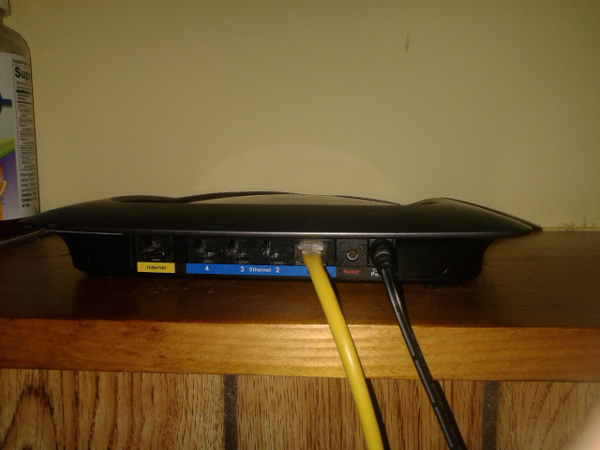
- Plug your computer into the router using a cable. Do not use Wi-Fi. Be careful not to plug it into the “Internet” port. By eliminating Wi-Fi, you’re eliminating 1 major thing that could go wrong. By default, your router will (hopefully) not allow anyone to connect to your router’s administration page from the “Internet” port, since that could allow an attacker to take control of your router, and thus control everything that you see on the Internet.
- Give your computer a static IP address. Again, using a static IP means that there’s 1 less thing that could go wrong.
- Go to your router’s web page (often 192.168.1.1)
- Back up your settings. Save it somewhere that you won’t forget. I recommend putting it in the same folder as the original firmware, and putting the router’s model name/number in its filename.
- Reset the router to factory defaults. In particular, use the 30-30-30 “Hard Reset” method:
- Hold down on the “Reset” button on your router for 30 seconds
- Without letting go, unplug the router, and keep holding for another 30 seconds
- Again, without letting go, plug the router back in, and hold for another 30 seconds. You should have held the router’s “Reset” button down for a total of 90 seconds, without any pause. I don’t know exactly why this is so important, but the guys at dd-wrt.com stress it very strongly.

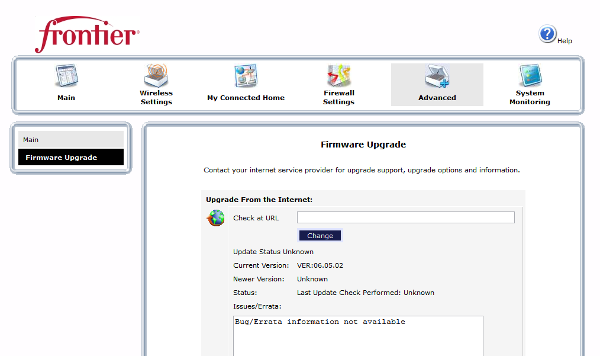
- Upload the “trailed” firmware on the router’s “Upgrade Firmware” page. It should reboot once it’s finished.
- Let the router sit for a few minutes to take care of any first-boot chores. Now it’s time to upgrade it to the firmware you originally wanted.
- Again, do a full hard reset

- Go to the router’s control panel, which should now be 192.168.1.1
- Upload the firmware that you really want on DD-WRT’s “Firmware Upgrade” page. It should be in [Administration] -> [Firmware Upgrade] Again, the router should reboot automatically.
- Again, do a hard reset.
- Go to your router’s web page and change the password to something other than the default. There are hackers out there who use automated attacks to guess weak passwords, so pick something that’s hard to guess. The number 1 factor in password strength is length, but also make sure to pick something that you can’t find in any dictionary.
- Set up Wi-Fi security. If you had a Wi-Fi password before, use that. Otherwise, pick a strong password. Wi-Fi encryption standards in order of strength:
- WPA2 Ciphers: AES (CCMP) is stronger than TKIP
- WPA A stopgap to WPA2, but is designed to be able to run on hardware made for WEP
- WEP This can be cracked in under a minute
- Back up your settings under Administration > Backup
- Finally, reset your computer’s IP address to dynamic (DHCP). Congratulations, you’ve just flashed a router! You have officially earned some serious geek cred.

Previous: Prepare to Flash
Next: Set Up a Repeater Bridge

2 thoughts on “DD-WRT Repeater Bridge – Flash With DD-WRT”